


Tying up safely
Step-by-step
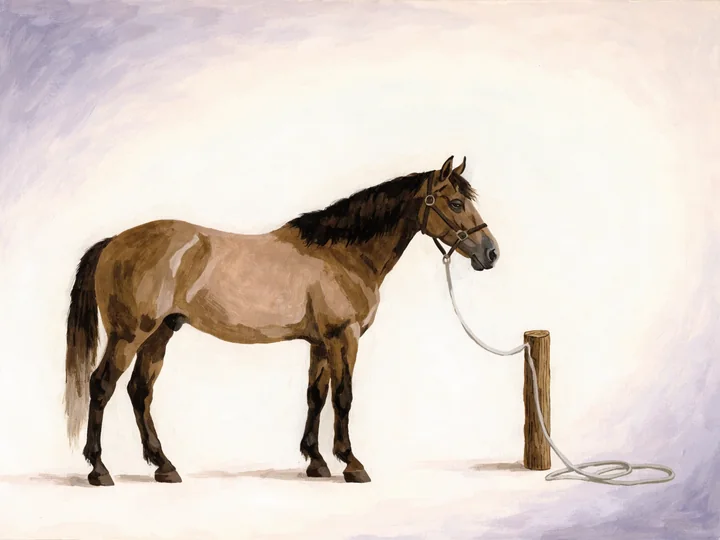
Tie to a strong fixed point with a quick-release knot or safety clip, always to the halter.
Goal
Secure the horse safely for a short time so it cannot get trapped if it is startled.
Before you start
- The horse leads and stands calmly
- A strong, fixed tying point
What you need
- Halter and lead rope
- Quick-release knot or safety clip
- Preferably a breakable string loop
Step by step
- Tie only to a strong, fixed object such as a post or tie-ring, never to a gate, board or wire.
- Tie at wither height or slightly higher.
- Leave only a little slack, about a forearm's length.
- Use a quick-release knot so you can free the horse fast.
- Always tie to the halter, never to the bit or the reins.
The horse's body language
A calmly tied horse stands relaxed. Hanging back on the rope or restless pawing means untie and give the horse a break.
Common mistakes
- Tying to a loose or weak object
- Leaving too much rope
- Using a fixed knot you cannot release quickly
Safety
- Always use a knot or clip you can open quickly in an emergency.
- A breakable string loop between halter and post gives way if the horse panics and pulls back.
- Never tie to the bit or to reins.
Stop at once if
- The horse hangs back on the rope or panics
- The horse tries to break free
Supervision
The first times tying should be done with an experienced person guiding. Stay nearby while a horse is tied.
More about this
A horse that spooks and pulls back can hurt itself badly if it cannot get free. So: a strong tying point, little slack, and always a knot or clip that gives way quickly.
Discover more
Sources: Extension Horses (Univ. of Arkansas) · University of Georgia Extension · Penn State Extension. This page has had a safety review. Descriptive and safety-conscious; not a substitute for guidance from an experienced instructor.